Drawing a Christmas tree is a delightful and festive way to express your creativity during the holiday season. This comprehensive guide will walk you through each step of drawing a detailed and realistic Christmas tree, from the basic structure to adding intricate decorations. Whether you’re a beginner or an experienced artist, you’ll find valuable tips and techniques to enhance your drawing skills. Let’s dive into the process and create a beautiful Christmas tree that captures the spirit of the season.
Understanding the Structure of a Christmas Tree
The Basic Shape
When beginning to draw a Christmas tree, it’s essential to start with the basic shape. Picture a large triangle with the base being the widest part and the top tapering to a point. This triangular framework will guide you in placing the branches correctly. Lightly sketch an inverted V shape to represent the tree’s overall form. Ensure that the triangle is proportionate to create a balanced and visually appealing tree. This initial step sets the foundation for the rest of your drawing.
Branches and Layers
A Christmas tree is characterized by its layered branches, which give it a full and lush appearance. To achieve this effect, draw branches that extend from the central trunk in a natural, irregular pattern. Start at the bottom and work your way up, making each layer slightly narrower than the one below. Use horizontal guidelines within your triangle to help position the branches evenly. The branches should have varying lengths and angles to mimic the way real trees grow, adding to the tree’s authenticity.
Trunk and Base
The trunk is a crucial but often overlooked part of the tree. Sketch a narrow rectangle at the bottom of the triangle to represent the trunk, ensuring it is centered and slightly visible beneath the lowest branches. The trunk grounds your tree, making it look more natural and realistic. This detail, though small, adds to the overall structure and balance of your drawing.
Adding Detail to the Tree
Defining the Branches
With the basic shape in place, it’s time to add detail to the branches. Draw short, slightly curved lines extending from the guidelines you created earlier. These lines should overlap to create a sense of depth and fullness. The branches near the bottom should be longer and thicker, gradually becoming shorter and thinner as you move up the tree. This technique gives your tree a realistic appearance, with branches that look natural and well-placed.
Creating Texture with Needles
To give your tree a realistic texture, add needles using short, quick strokes along each branch. Vary the length and direction of these strokes to avoid a uniform look. Focus on areas where branches overlap, as this will add depth and dimension to your drawing. The density of the strokes will also help convey the tree’s fullness. This step is crucial for making your tree look lifelike and detailed, with a texture that mimics real pine needles.
Adding Ornaments and Decorations
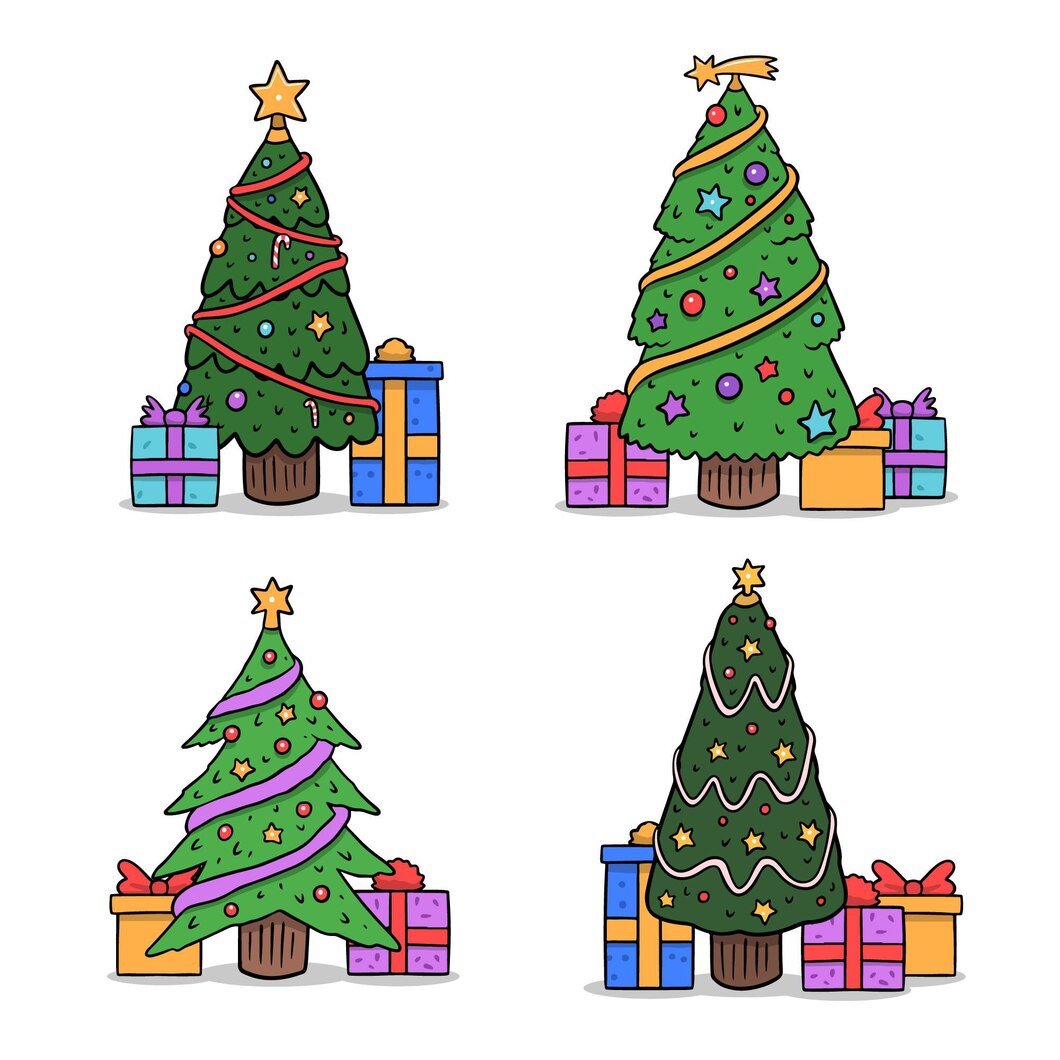
Decorating the tree is where your creativity can shine. Add ornaments of various shapes and sizes to the branches. Common ornaments include spheres, stars, and bells. Distribute them evenly across the tree, with larger ornaments near the bottom and smaller ones towards the top. To make the ornaments stand out, use darker shading or different colors if you’re working with colored pencils or markers. Don’t forget to add a star or angel at the top for the finishing touch. This step adds a festive and personalized touch to your drawing, making it unique and special.
Shading and Lighting
Understanding Light Source
Shading and lighting are crucial for bringing your drawing to life. Determine where the light source is coming from, as this will affect where you place shadows and highlights. For instance, if the light is coming from the top right, the left side of the tree and the underside of the branches will be in shadow. This understanding helps create a three-dimensional effect, making your drawing look more realistic and dynamic.
Applying Shading
Start shading the tree by applying graphite lightly to areas that would be in shadow. Use a blending tool or your finger to smooth out the shading, creating a gradual transition from light to dark. Focus on creating depth, especially where branches overlap. This will give your tree a three-dimensional appearance and enhance its realism. Shading adds contrast and makes the details of your tree stand out, giving it a more lifelike quality.
Highlighting Details
For the final touches, add highlights to areas where the light hits the tree. These highlights can be created by erasing small sections or using a white pencil. Focus on the tips of branches and ornaments, as these areas are more likely to catch the light. Highlights add contrast and make your drawing pop, giving it a more dynamic and lifelike appearance. This step is crucial for adding the finishing touches that bring your drawing to life.
Final Touches
Adding the Star or Topper
No Christmas tree is complete without a star or topper. Draw a star, angel, or any other topper of your choice at the top of the tree. Ensure it’s centered and proportionate to the size of the tree. The topper adds a focal point and completes the festive look. This final detail is the cherry on top, giving your tree a finished and polished appearance.
Background and Additional Elements
Consider adding a background to enhance your drawing. Snowflakes, a cozy fireplace, or even wrapped gifts under the tree can add context and make your drawing more interesting. These additional elements can be simple or detailed, depending on your preference and the overall composition of your artwork. A background adds depth and context, making your drawing more engaging and complete.
Conclusion
Drawing a Christmas tree is a wonderful way to embrace the holiday spirit and enhance your artistic skills. By understanding the structure, adding detailed branches and decorations, and applying thoughtful shading, you can create a realistic and festive drawing. This process not only improves your drawing abilities but also deepens your appreciation for the intricate beauty of a Christmas tree. Whether for personal enjoyment or to share with others, your drawing will capture the joy and magic of the holidays.